https://www.penn.museum/sites/artifactlab/2017/12/19/transformation-tuesday-ft-the-big-guy/
On 12/19/2017 04:41 AM, mollygleeson wrote:
#Transformation Tuesday ft. The Big Guy By: Céline Wachsmuth
It's #TransformationTuesday! And that means I get to show off a wonderful transformation that happened right in the Lower Egyptian gallery here at the Museum.

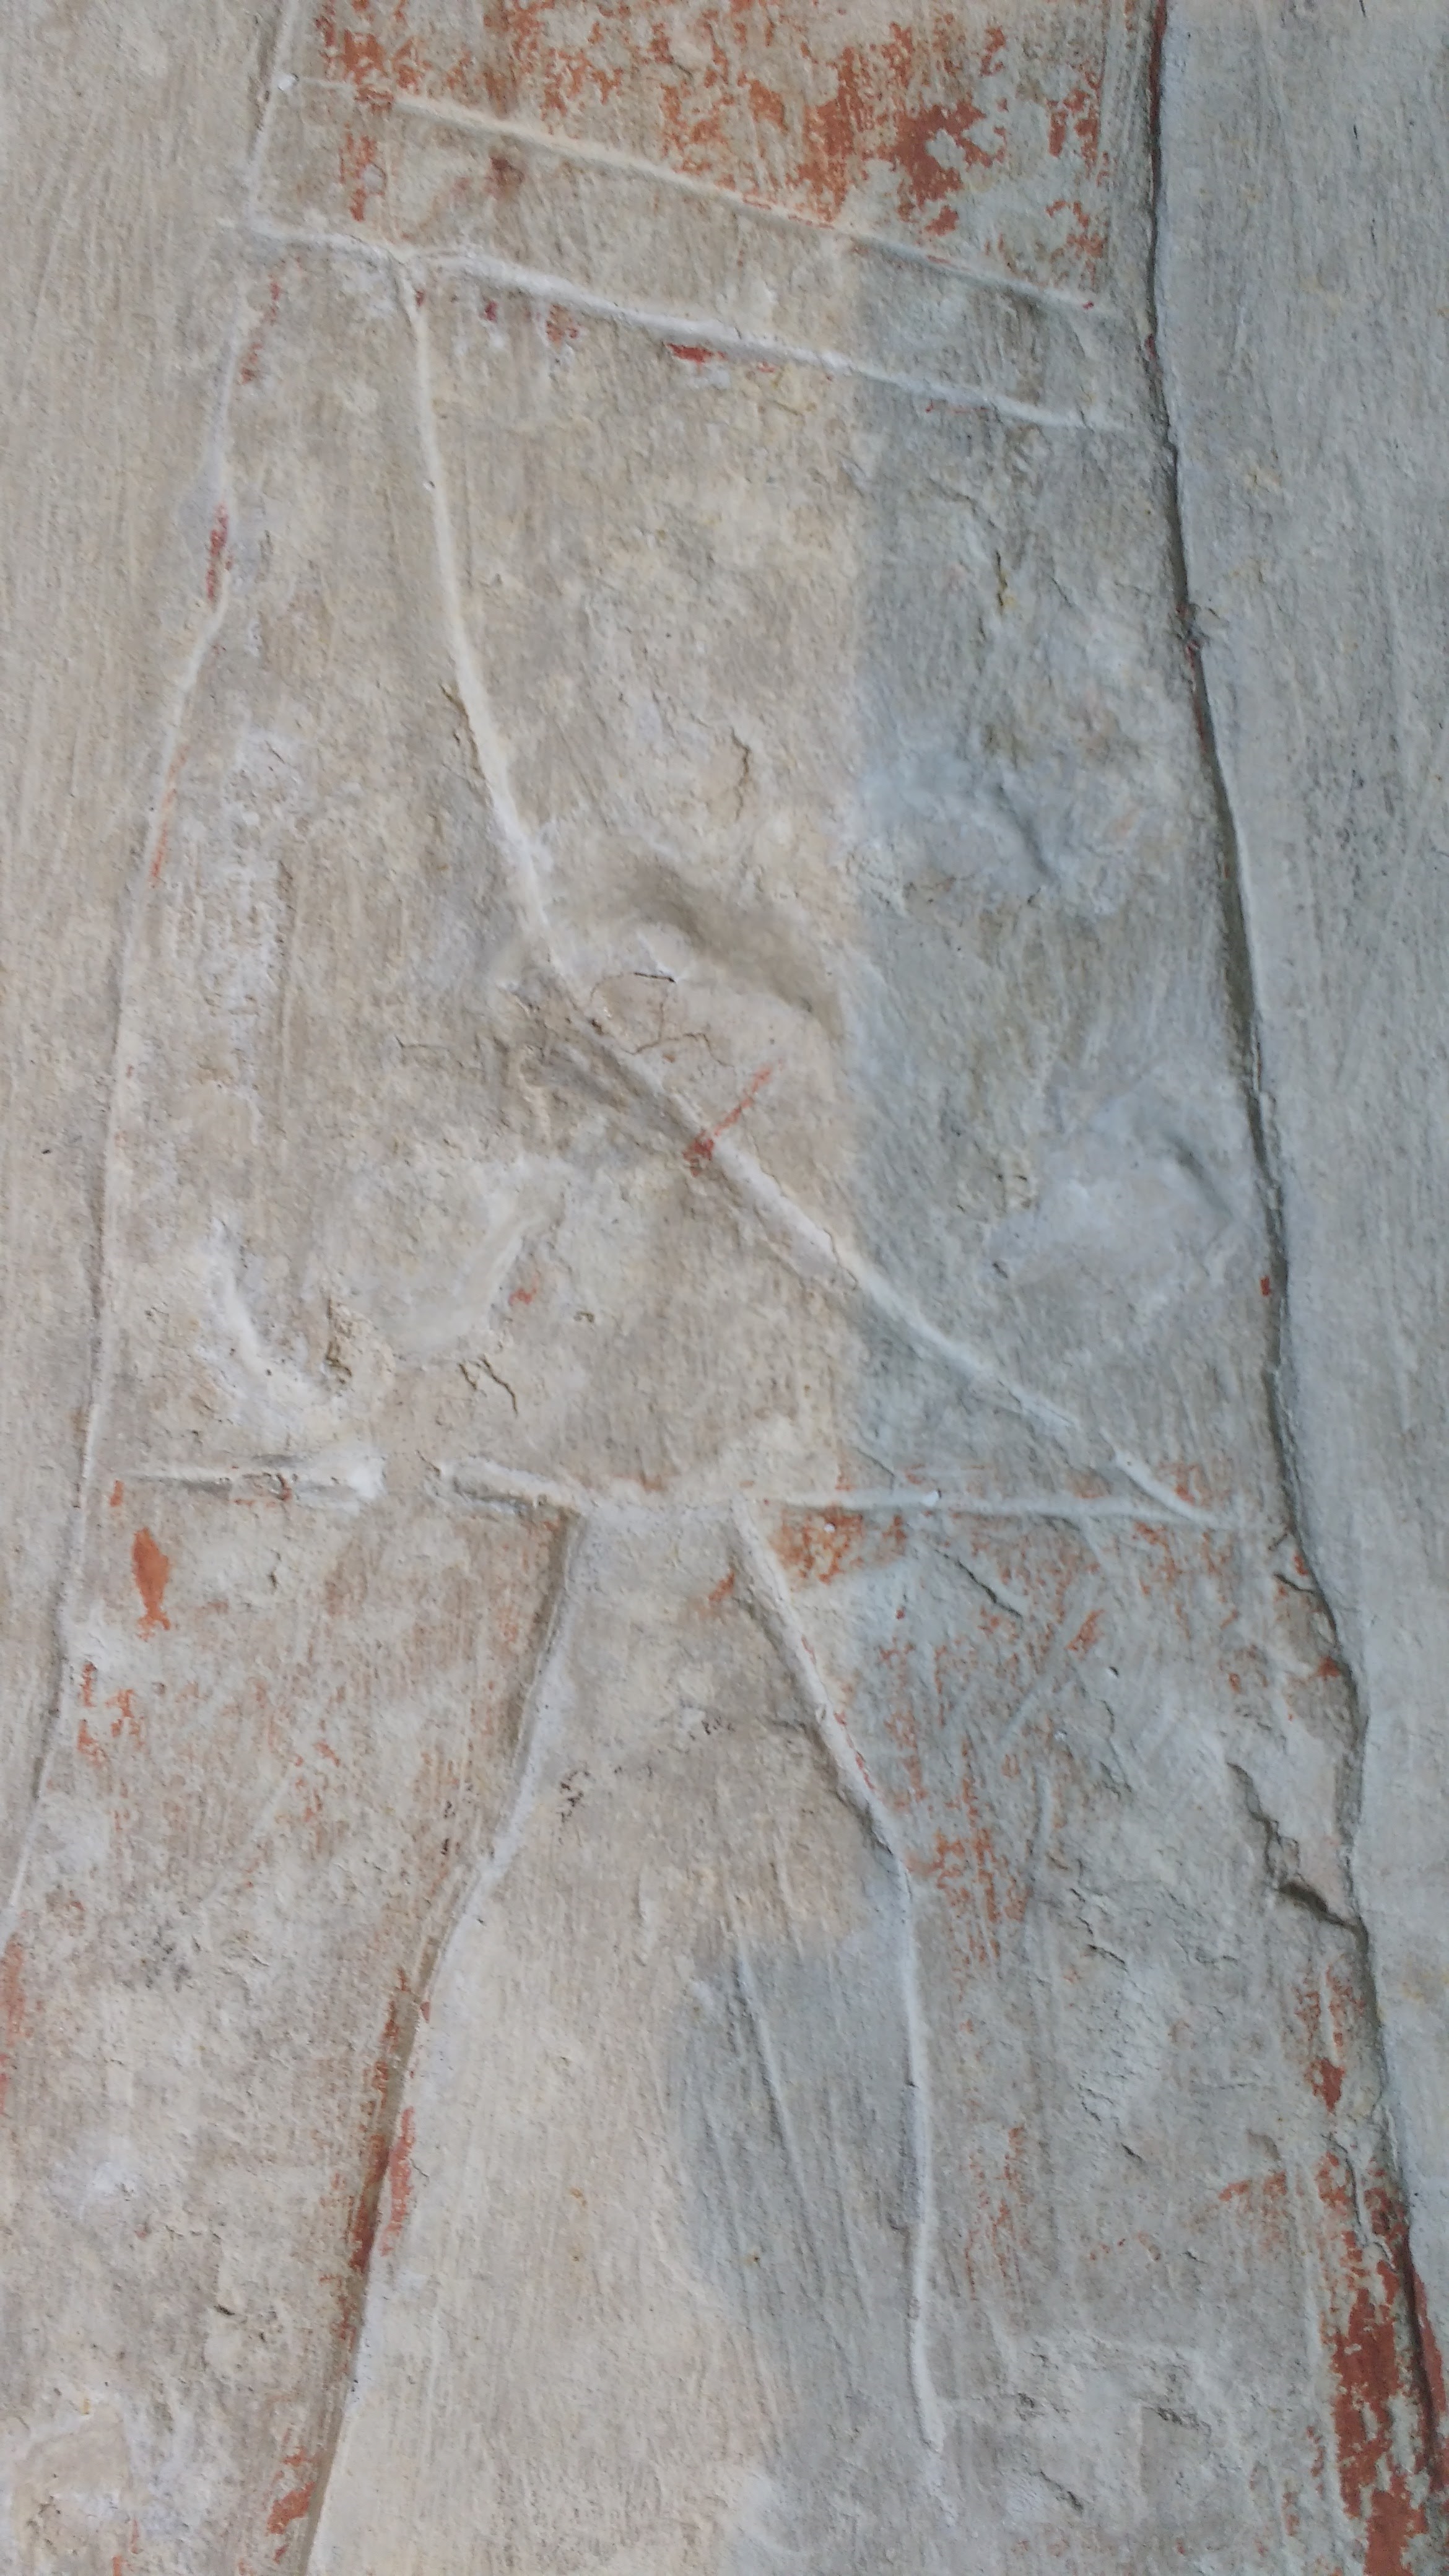
Before Treatment Shot of the Big Guy

After Treatment Shot of the Big Guy
Tah-dah! Looks great, doesn't it? The Big Guy looks so much better. (I affectionately nick-named this block "Big Guy" because it's the heaviest block on this side of the wall (it weighs approximately 720 pounds). If you're in need of some context for this project, check out this Kaipure Catch Up)
Though there isn't much visible difference between these two photos, in terms of the stability of the block's surface, much has changed. All in all, this treatment took me about two months to complete and it was quite the journey.
I began my treatment by condition mapping the block in Photoshop and then surface cleaning with gentle vacuuming. Once the dirt immediately on the surface had been removed, I used a variety of sponges and erasers to clean the more stubborn grime. In just these first two steps I realized how fragile much of the surface was. Small flakes would break off easily and not always predictably. Swabbing with a cotton swab was no different and in some cases was more problematic. I proceeded slowly and carefully. Once the Big Guy had been safely cleaned, you could really see his brightly painted surface. The colors were more visible, but so were the fragile and lifting areas. I next faced the biggest challenge of this treatment: how to efficiently and effectively stabilize and consolidate the surface.

Photoshop Condition Mapping of the Big Guy
I began stabilizing all the lifted areas by injecting a dilute adhesive under the surface using an insulin syringe. This worked for some areas but caused some of the surrounding surface to darken. If it came in contact with the surface, the needle also had the potential to disturb it and cause a piece to break off. I then tried to apply the adhesive by brush; I saturated the brush with adhesive and gently tapped the exposed stone next to the prepared surface, wicking the adhesive underneath. This worked but had many of the same issues as the syringe. Both application methods would have taken a substantial amount of time, as almost all of the surface was in need of some consolidation. I began to explore other options for effectively consolidating the surface. In speaking with conservators in the department, we decided to try applying the adhesive via spray canister.

Preval Spray System
Before spraying the entire block, we tested it to see how even the spray application would be and if it would cause any darkening or staining. I was very happy with the tests but thoroughly discussed all the potential shortcomings of this application method with Kaipure project supervisor Molly Gleeson. Spraying the adhesive wouldn't penetrate below the prepared layer and would only provide superficial consolidation. For those areas that were significantly lifted, I went around with a higher percentage of adhesive and used the brush method of application mentioned above. Once I was satisfied those areas had been stabilized, I sprayed a layer of adhesive on the surface, let it dry completely, and then applied a second layer in areas that were still more concerning. The Big Guy was much more stable and happier but you can't see any evidence of this because the adhesive is clear!
(I bet if you ask him though, he'd tell you he felt much prettier!)

This figure grabbed a bunch of food to celebrate the Big Guy's transformation! In actuality, this figure is bringing food for the REAL Big Guy, Kaipure
The Big Guy was almost complete but I had one more task to finish before he would be ready to be handled. Many areas of loss had unprotected edges at risk of being lifted off the surface. Take this area for example, there are quite a few spots with unprotected edges ready to break off with added pressure.

Detail of unprotected edges
To solve this problem, I edged (put up a protective and supportive layer of material around the exposed edge) those spots with Modostuc. Notice the white spots now on his body?

Can you see the white areas?
Detail of area of edging on figureI went around to the many places on the Big Guy with unprotected edges and did the same thing. Once I was satisfied all edges had been protected, I painted over all of them with watercolors, a process called "inpainting". And, if I did my job well, you can't see it!
Can you find the areas of edging?
Detail of inpaintingThe Big Guy is now stable and ready to be moved off-site until the next phase of treatment: re-installing him in the Museum with his many brothers and sisters! This is all part of a larger picture of transformation (for more information on the museum Building Transformation Campaign, click here). It's a transformation inside a transformation! Inception, anyone?
Two weeks ago, conservator Alexis North posted about one of her recent treatments where the before and after treatment photos are indeed worlds apart and more what you might expect from a Transformation Tuesday post (see her post here). However, don't judge a book by its cover or an object by its treatment photos! Though you can't always see the changes, rest assured that once an object passes through conservation it has been changed for the better. Stay tuned for more of our exciting (and perhaps surprising!) Transformation Tuesday series posts!
-- Sent from my Linux system.
No comments:
Post a Comment